
Locally made
how to series
What you’ll need to get started
Before you begin installing a fly screen to an awning window, make sure you’re wearing the right safety gear for the site you are working on and the tools you are using.


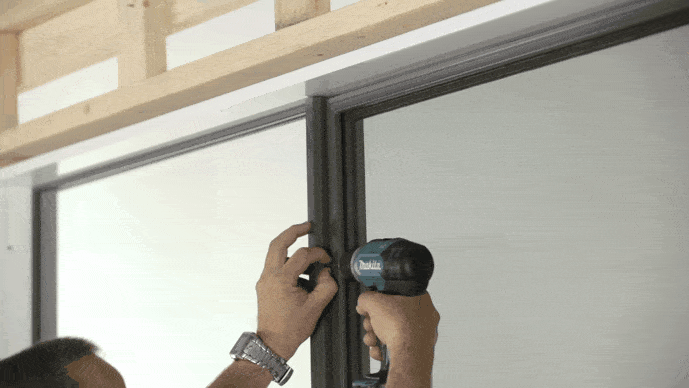
Standing on the inside of the house, place the two skirts on either side of the winder. Position the skirts so that one end fits into the rebated part of the winder while the other end fits on the inside lip of the jamb.
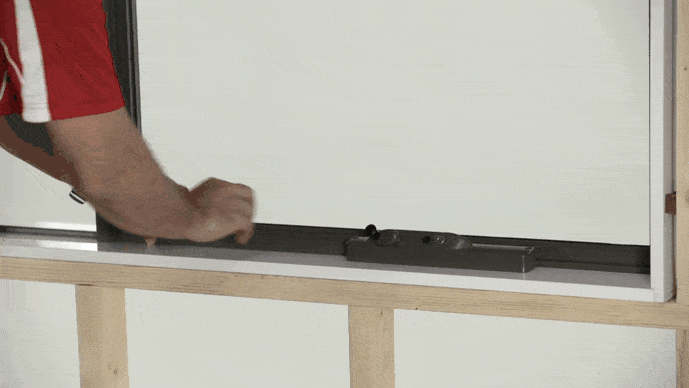
Using your drill, fix a screw through each of the pre-drilled holes located on the skirt.
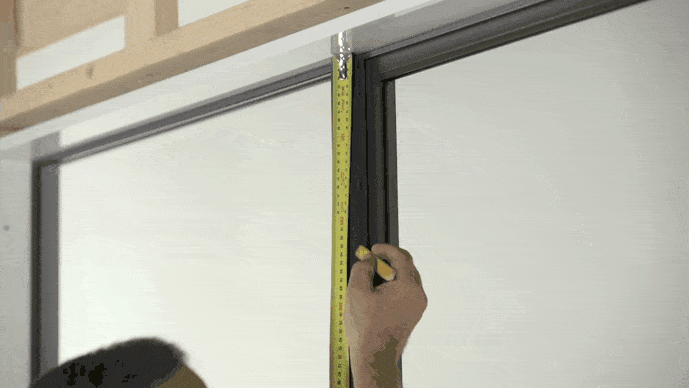
Next, take your pencil and draw a small line across the reveal of the jamb, about a quarter of the way down from the top and roughly 20mm out.
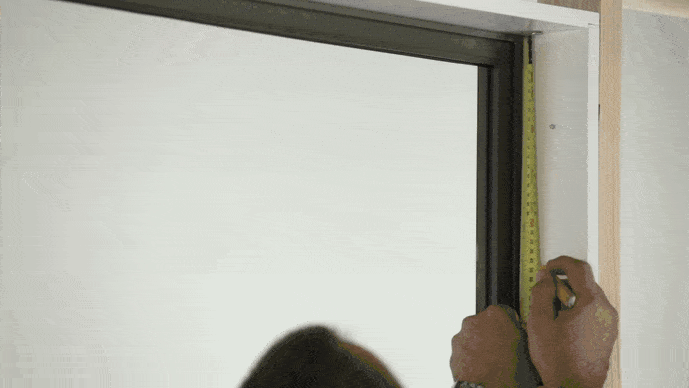
Place a mark at the same point on the other jamb or mullion.
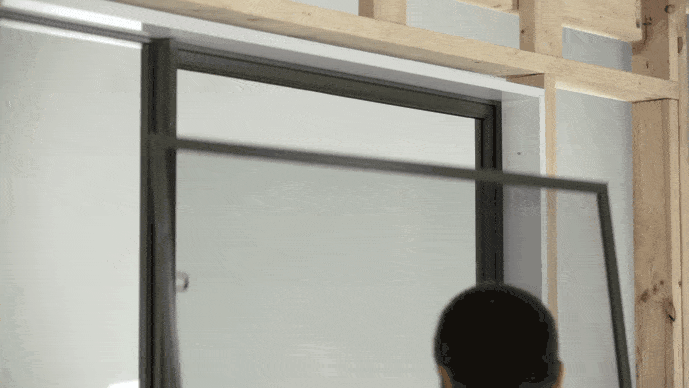
Pick up the fly screen so that the tab is facing you, and is located near the top of the screen.

Place the bottom of the screen onto the skirts. Now, push the screen forward so that it rests against the lip on all sides.
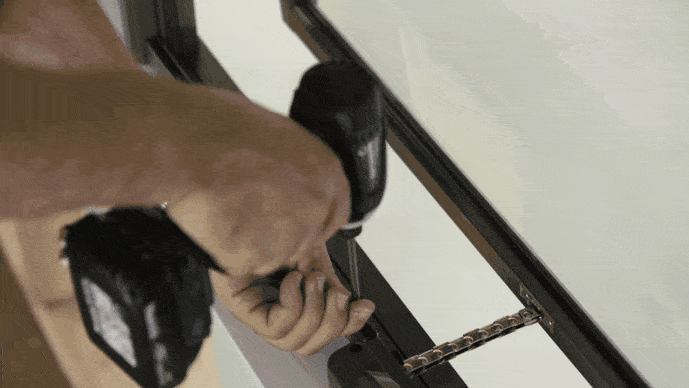
Keeping the screen in position, hold the fly screen clip against the mark on the jamb. Use your drill to fix the screw through it, and into the reveal. Repeat this on the other side.
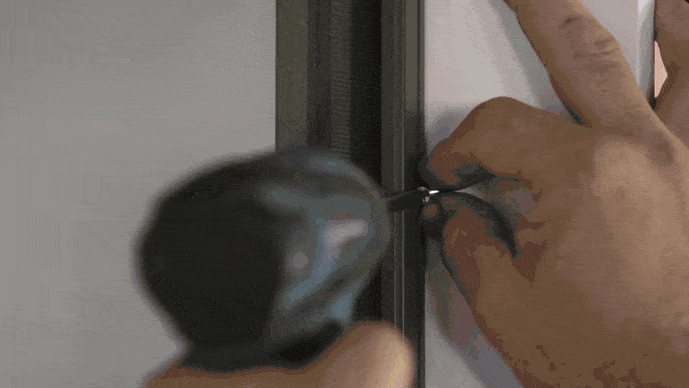
If the other side is a mullion, rather than another jamb, first pre-drill the aluminium where marked, before fixing the fly screen clip with the screw.
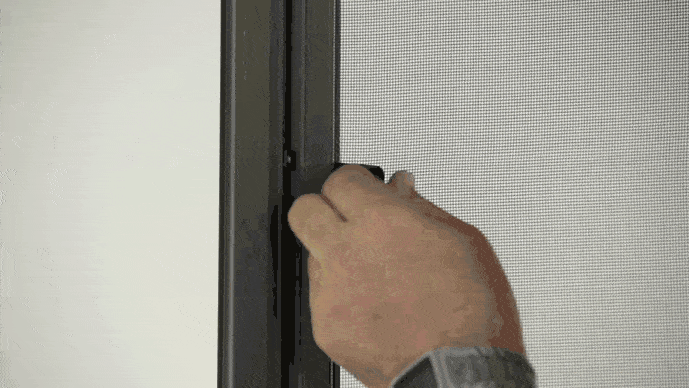
To remove the screen for cleaning, simply use the tab to gently pull the screen out of place.
We offer a wide range of screen solutions for windows and doors. Our range of screen products can provide added strength against forced entry, pest control, and more.
Every screen is purpose-engineered to seamlessly fit an A&L window or door.