Locally made
How to series
What you’ll need to get started
Before you begin, make sure you’re wearing the right safety gear for the site you are working on, and the tools you are using.

Measure the height, width, and depth of your French doors. Then, measure the opening you’re installing the product into.
The size of the opening needs to be 20mm wider, and 30mm higher than the size of the product to allow for a square and plum installation.
The overall depth of the product needs to match the cladding type it is being installed into. The cladding type will have been determined when the product was ordered, but it never hurts to check twice.
You also need to determine if any flashings will be required, and if so, the type. We offer a range of standard flashings, but it is ultimately up to the builder to decide on how to make the building watertight.
Flashing:
Flashing needs to be determined by the builder. When installing, flashing needs to be pulled forward and fixed to the face of the stud. This can be done with a simple staple gun.
Top tip: It’s always a good idea to double check if any special installation requirements apply to the product you are installing. These could include things like:
Firstly, place the spirit level on the slab or floor and pack level where the product will sit. If packers are required, fix them into position with brad nails so they don’t move around.
Place a mark on the reveal of both jambs: 100mm from the top, 100mm from the bottom, and in the centre.
Pre-drill a hole at each mark with a 3mm drill bit.
Place the product into the opening from the outside.
Top tip: A standard installation allows for 10mm of plaster on the inside. So, using a 10mm packer or the thickness of a simple brickie’s ruler as a guide, overhang the reveal back into the house by 10mm.

Using your spirit level, check that the sill of the door is still level.
Fix a nail into the stud through the pre-drilled holes nearest the sill on both sides of the product. Do not nail them in all the way.
Fix a nail into the stud through the pre-drilled hole at the top of the reveal. Again, do not nail it in all the way. Repeat this process on the other side of the product.
Holding your spirit level against the jamb, check that the product is both square and plum.
Measure the product diagonally in both directions to ensure it is square. Ideally, you want both measurements to be exactly the same, but a couple of millimetres difference is ok.
Use the pinch bar to gently move the product into the correct position if required.

Top tip: Before packing and fixing off, it’s always good to check how the product is operating.
At this point, panel adjustment may be required. If so, please see our video on ‘how to adjust an A&L French door panel’.
Once you are happy with the product’s positioning, pack between the reveal and the stud above the nails and drive all the nails home. For taller products, you may need to add additional fixings along the reveals on the jamb.
If so, follow the same procedure of predrilling, packing and fixing, while ensuring the reveals remain plum.
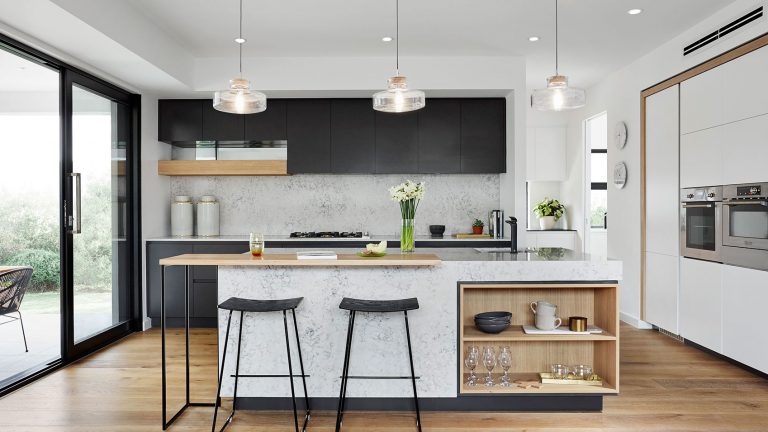
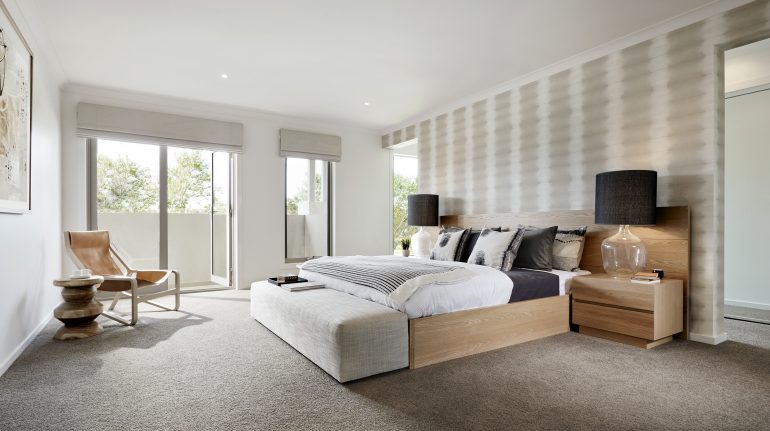
Want to learn more about A&L’s range of windows and doors? From sliding windows and sashless solutions, to louvres and awnings, our family of products are designed for maximum durability, and to suit every style – from traditional to contemporary.